Journal · Guide
How to photograph a flat-lay that AI understands
An on-model image is only as good as the photo it comes from. Background, light, views and file: what a good flat-lay needs.
By VeyraGen editors · 30 September 2026 · 5 min read · Lees in het Nederlands
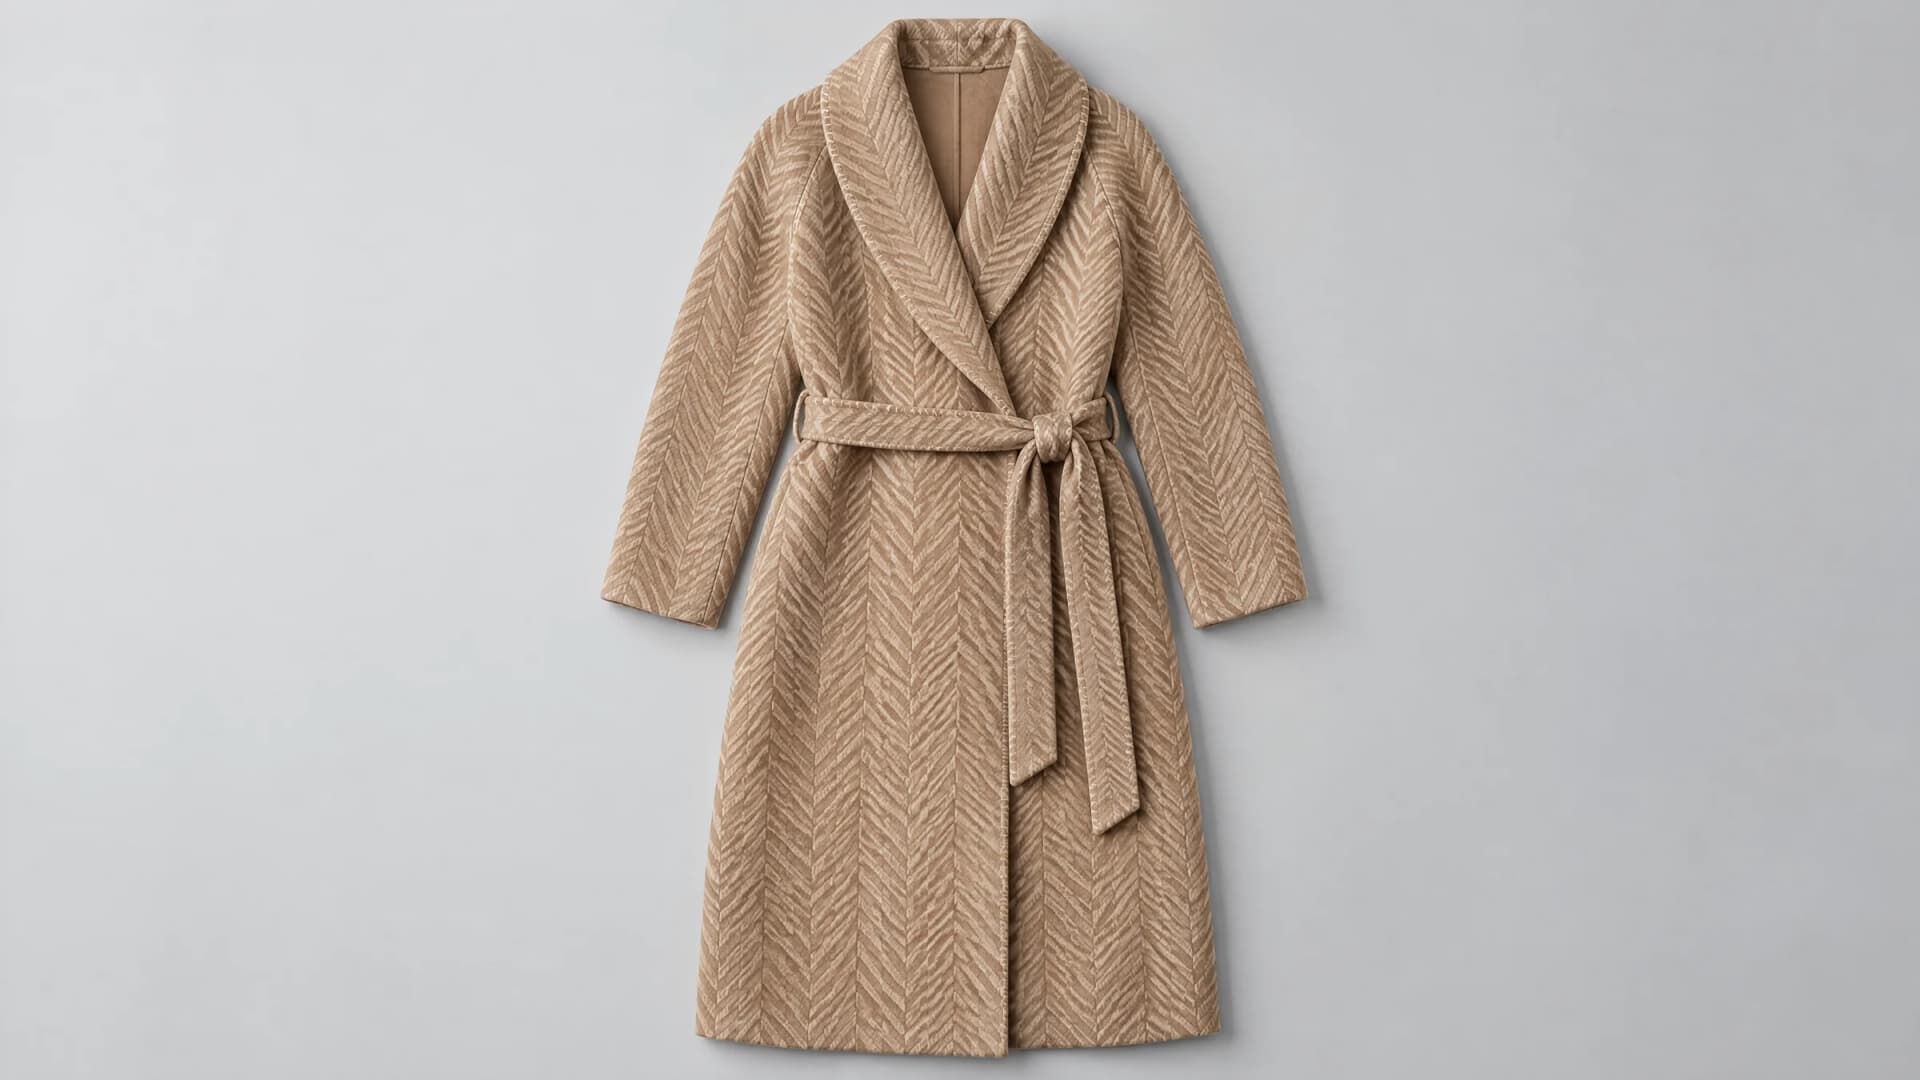
OW01 Herringbone coat, flat-lay. Example from Collection 01, made with an AI image model.
An on-model image is only as good as the photo it comes from. Fabric, colour, buttons and stitching are taken from your product photo. Whatever is not in it, the model has to make up, and that is exactly where things go wrong. This guide is about the photo you take beforehand: the flat-lay.
Laid flat, or standing free on white
There are two good starting points. A flat-lay is the piece laid flat and photographed straight from above. A photo on white shows the piece standing free, from the front, on a white background, the way many webshops already have it. Both work. Use what you have, or what shows the piece best: a coat with volume often looks better on white, a sweater or a shirt lies well flat.
Flat-lay from above: OW01 Herringbone coat. Example from Collection 01, made with an AI image model.
A plain, neutral background
Lay the piece on a plain surface: white, light grey or a neutral stone. No wood grain, no tiles, no pattern. The studio has to separate the garment from what surrounds it. The calmer the background, the surer that edge.
Light that shows the fabric
Shoot in soft, even light: a large window on an overcast day, or two lamps through a diffuser. Hard flash leaves hotspots that come back on the model as stains. Light falling a little from the side shows the texture of the fabric: the wale of corduroy, the relief of a cable, the grain of bouclé.
Watch the colour too. A warm lamp turns an ecru sweater yellow, a cool shadow turns it grey. Fix the white balance on your camera or phone, or include a white sheet in the shot and correct to it.
Whatever is not in your flat-lay, the model has to invent. A good flat-lay leaves nothing to guess.
The whole piece, smooth and straight
Keep the whole piece in frame, with some room around it: no cropped sleeves, no hem out of shot. Smooth out creases, close buttons and zips the way the piece is worn, and lay sleeves and legs symmetrically. A collar that lies crooked is worn crooked by the model too.
Only the product
No hands, no hangers in the shot, no mannequin and no person wearing the piece. The studio asks for a photo of the product alone. A model already in the photo gets confused with the model you choose.
More views: front, back, detail
If you have more photos of the same piece, upload them together as one product. A back view helps when you want poses where the model turns or stands with their back to the camera; for a front view you do not need it.
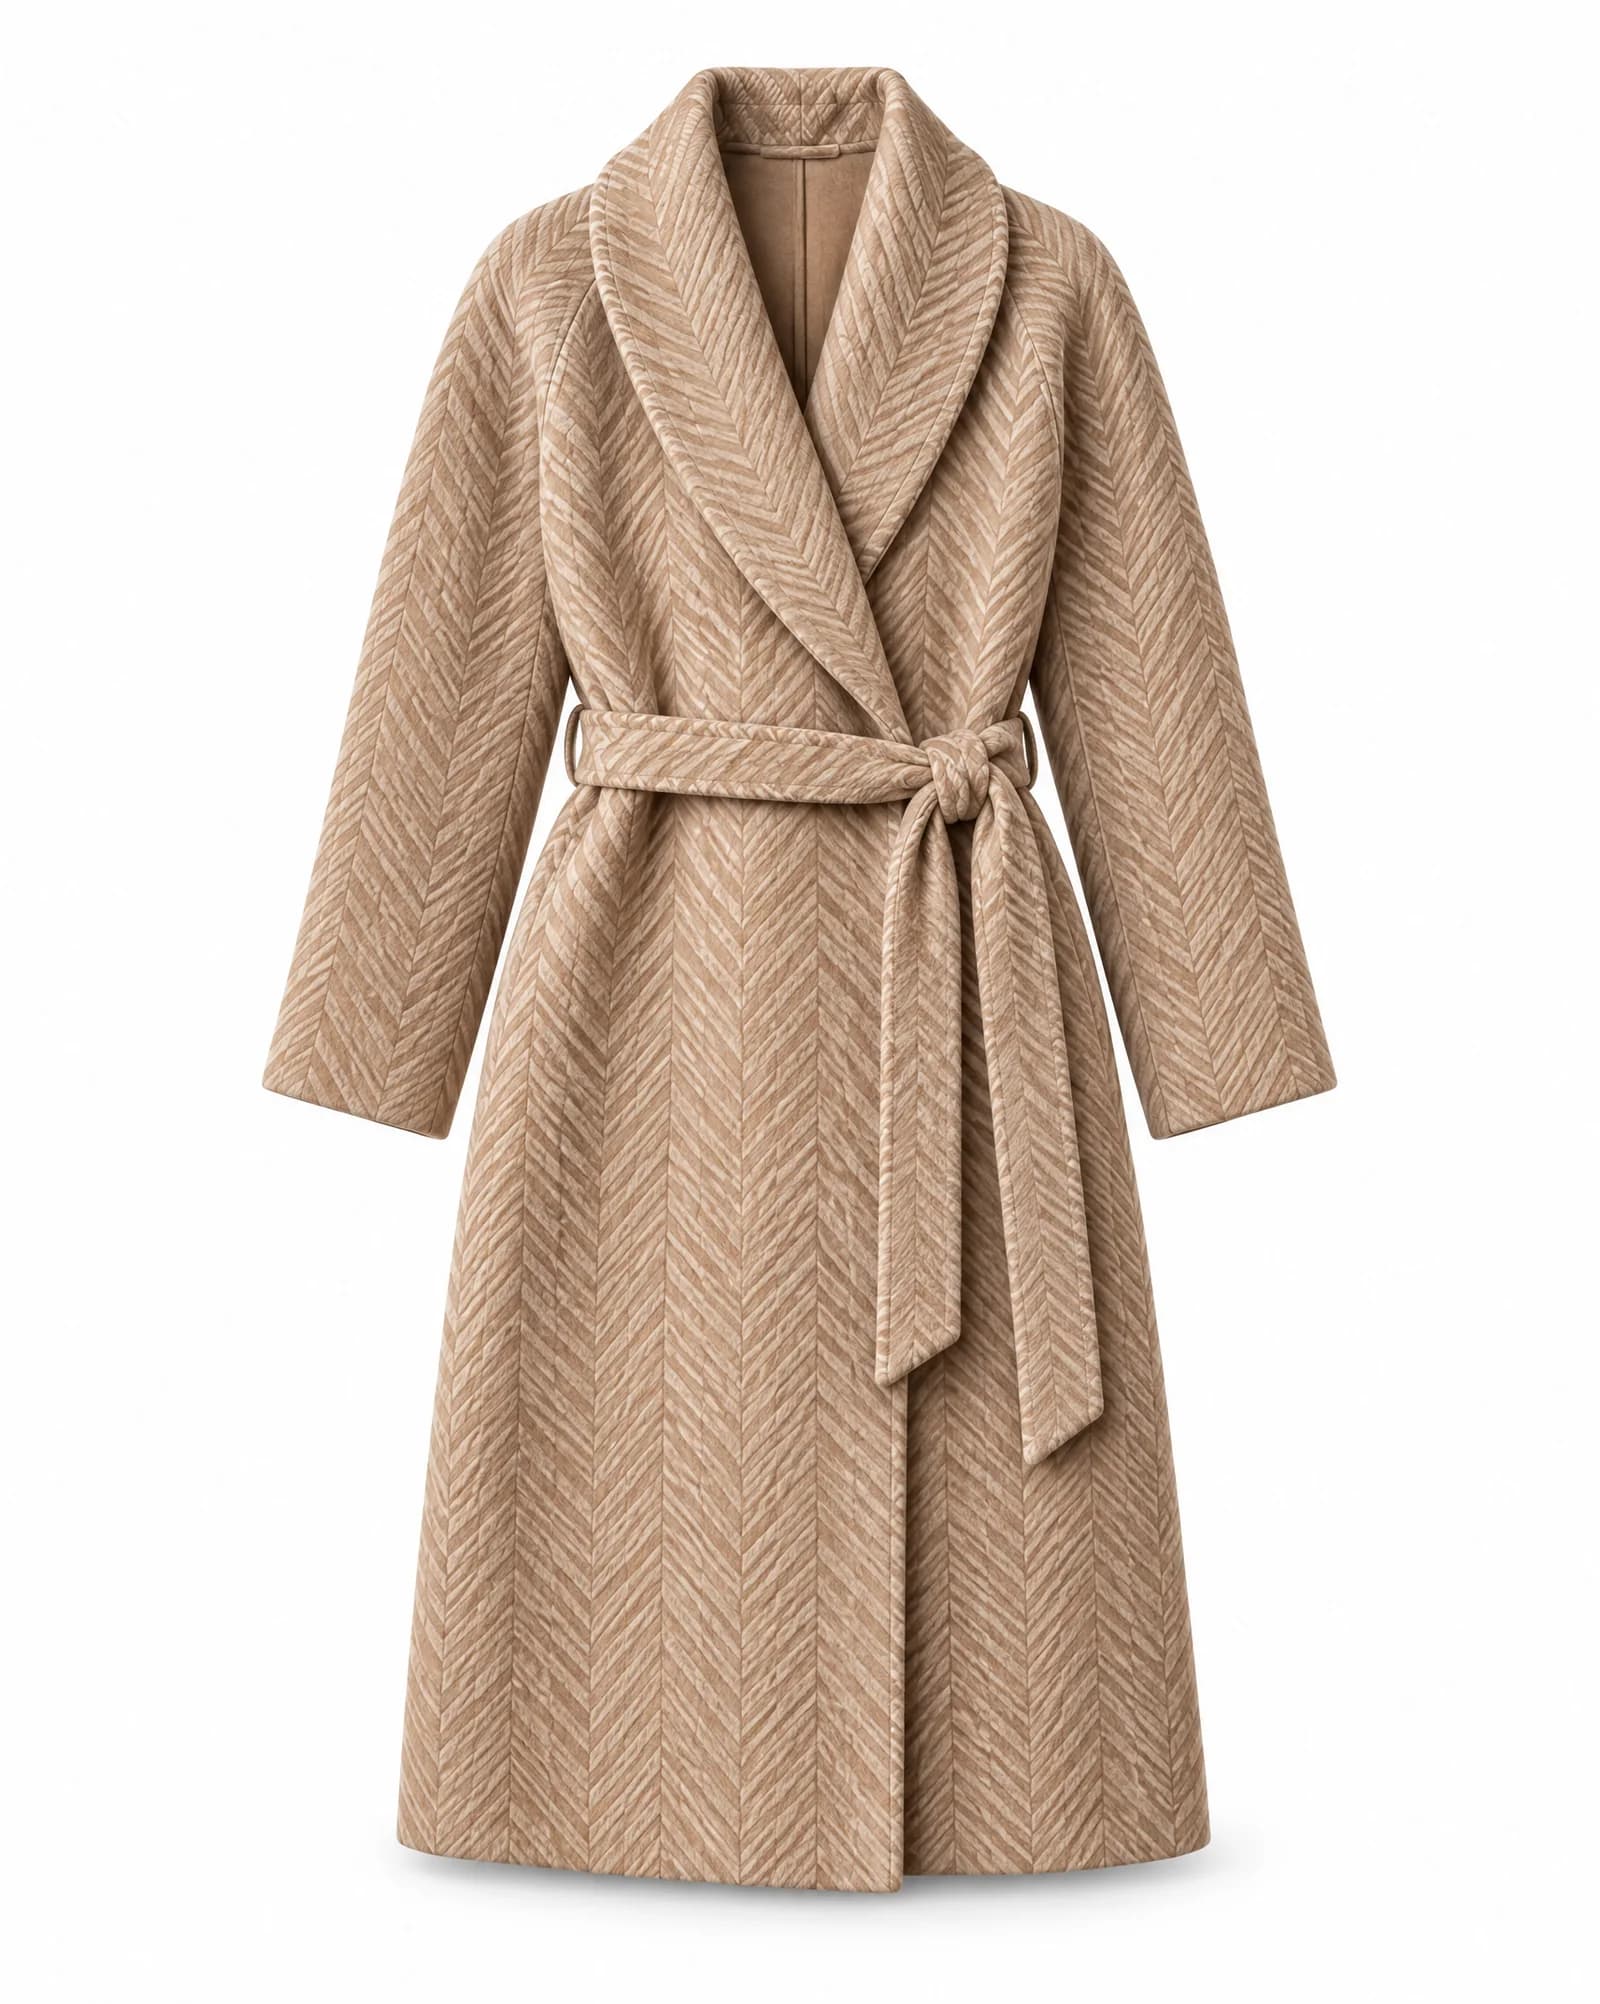
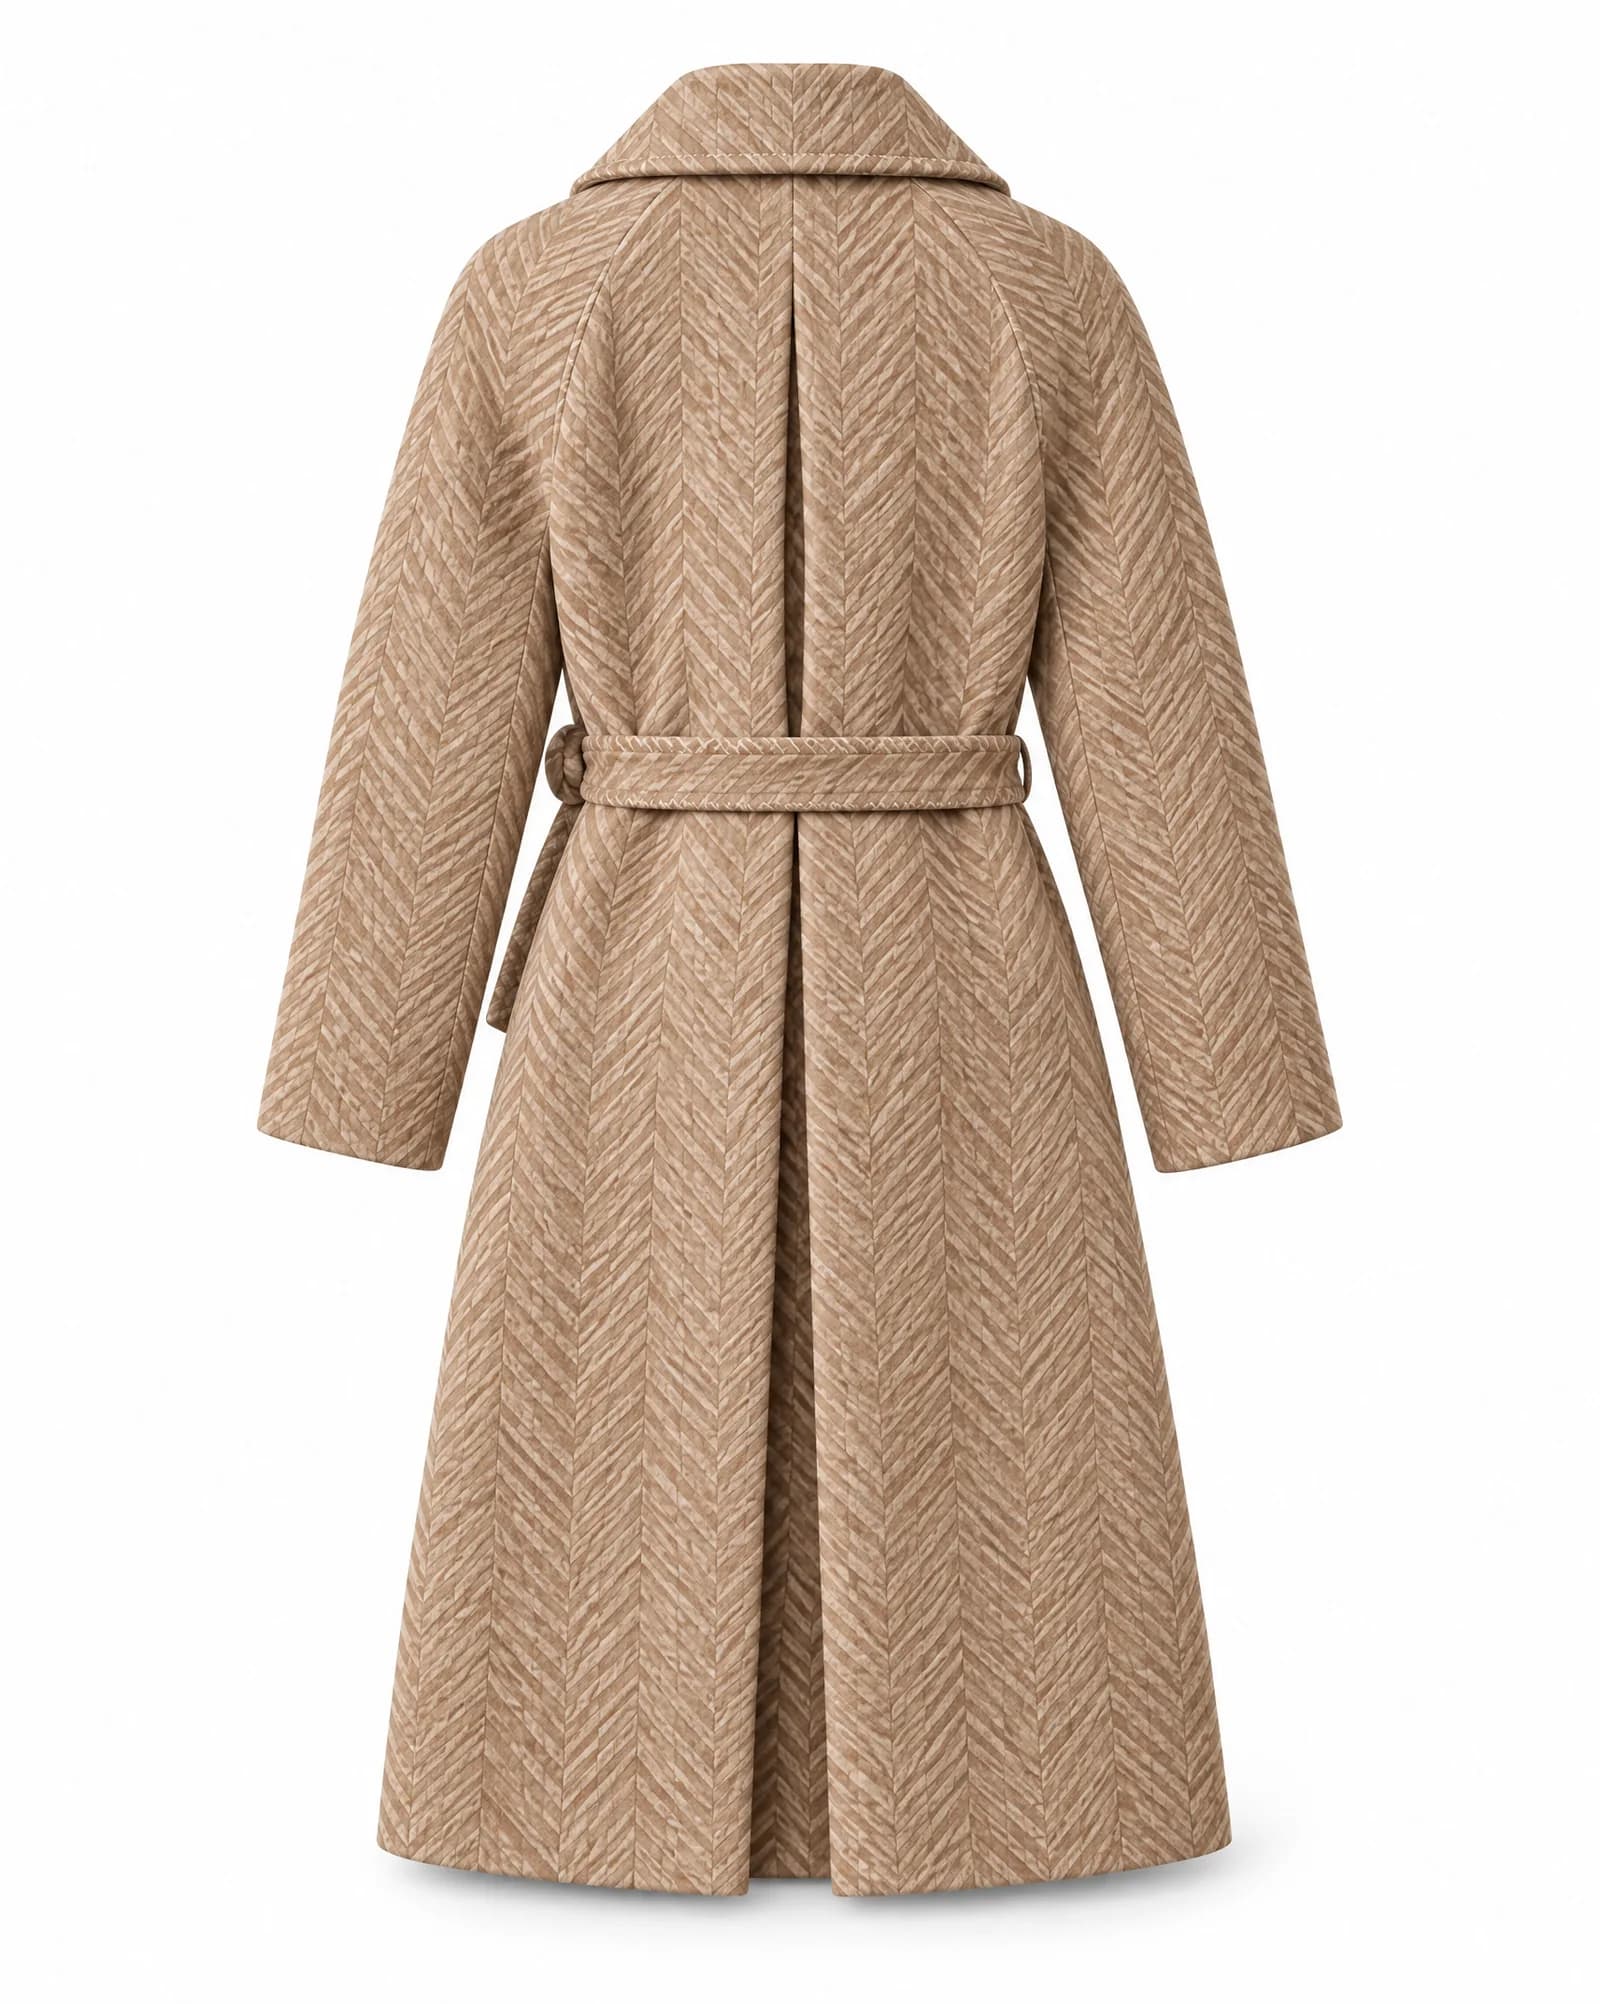
Front and back of the same piece, uploaded together. Example from Collection 01, made with an AI image model.
A detail pays off for fabrics with a pattern or relief: herringbone, cables, rib, bouclé. Shoot close enough to see the yarn, but not so close that you no longer know which part of the piece it is. That way the pattern keeps its scale on the model.
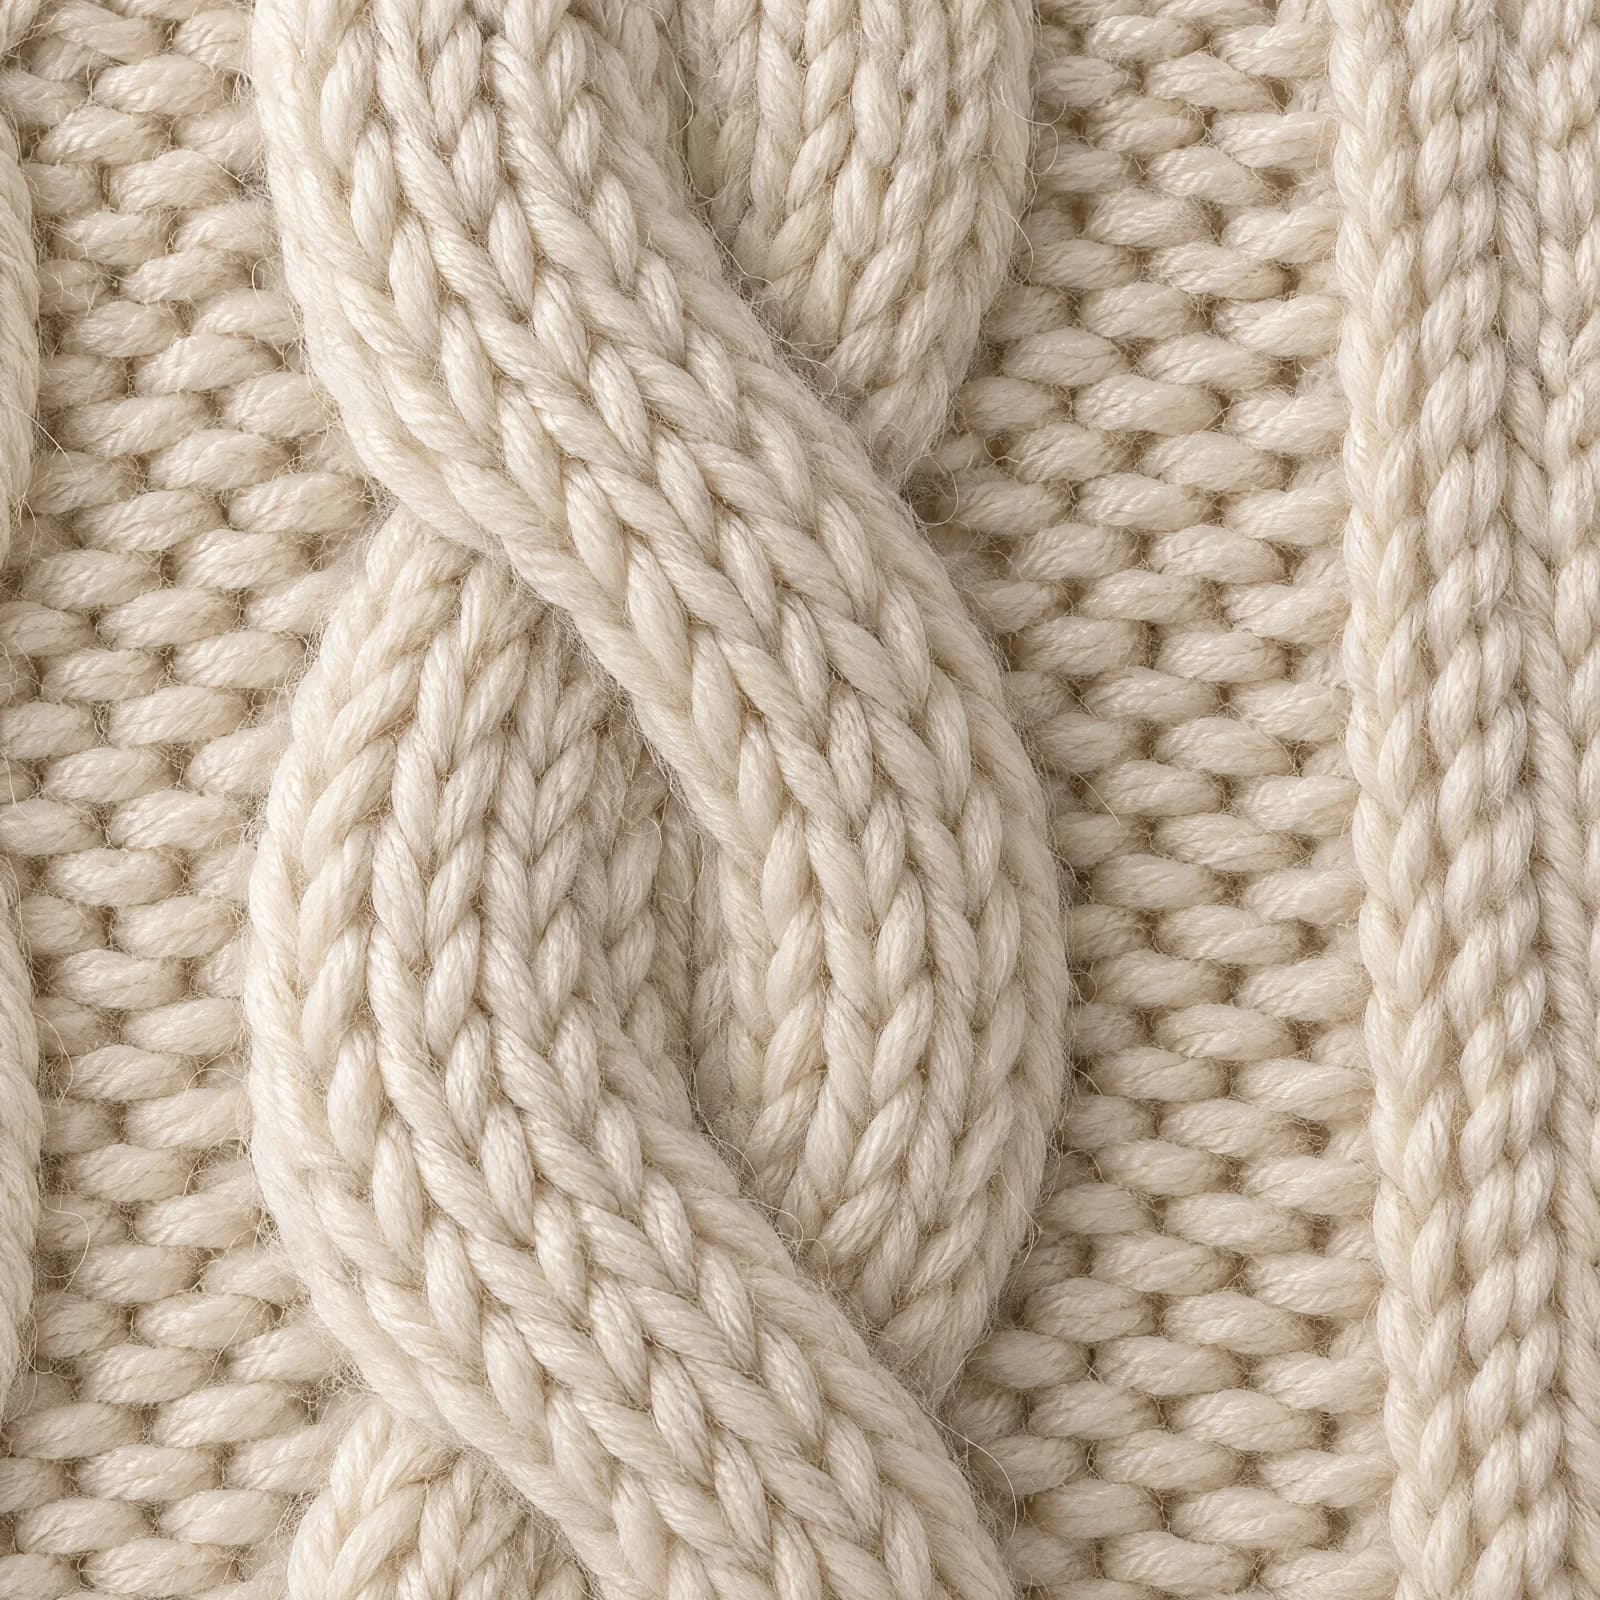
A cable stitch up close: KN01 Fisherman sweater. Example from Collection 01, made with an AI image model.
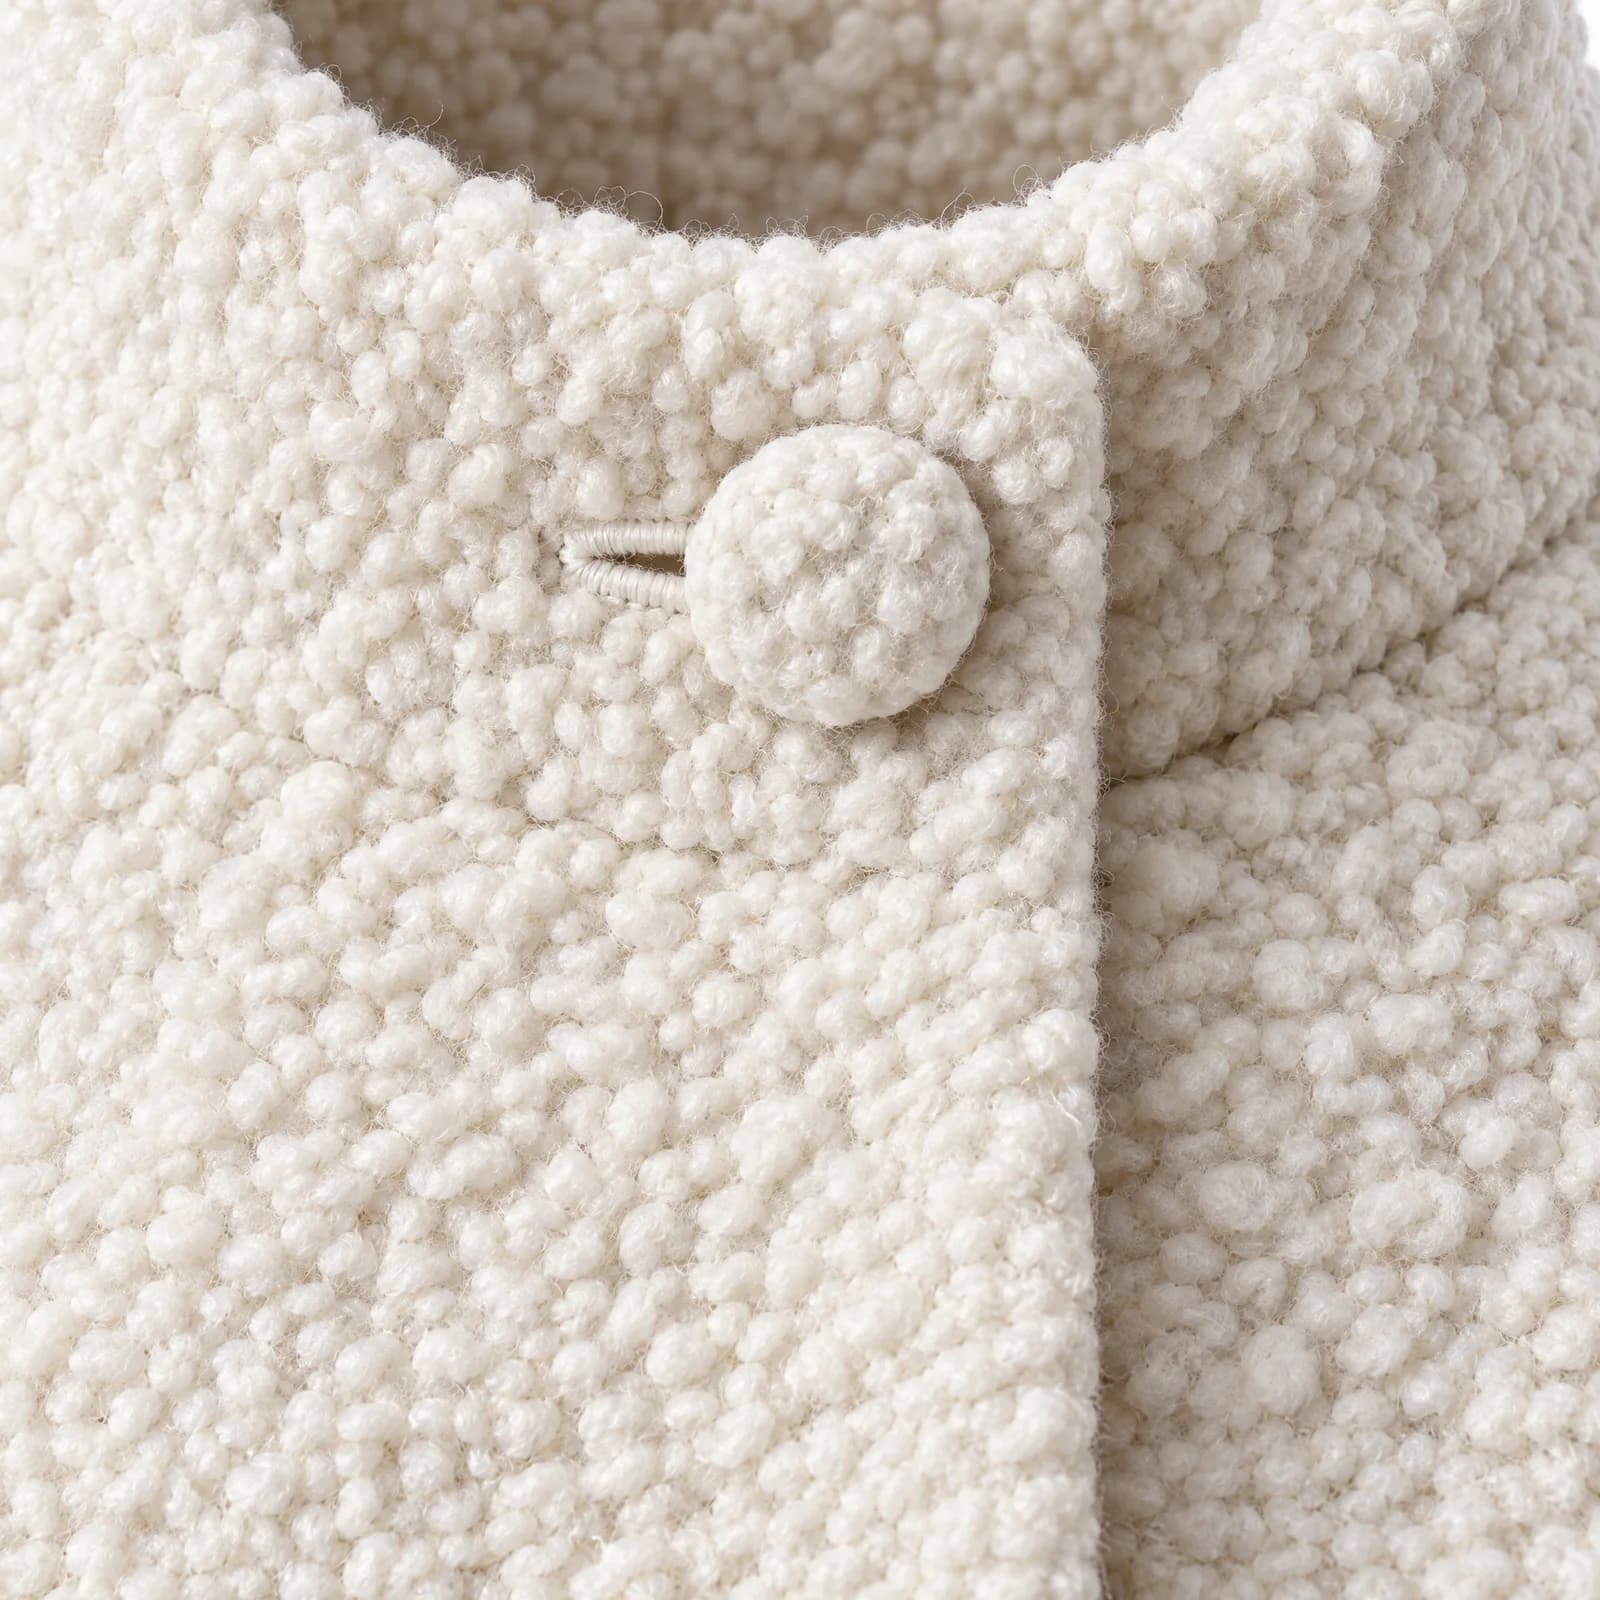
Bouclé up close: OW03 Cocoon coat. Example from Collection 01, made with an AI image model.
The file
Upload JPEG or PNG, up to 10 MB per photo. The sharper the photo, the more detail the studio can carry over. A recent phone is more than enough, as long as the photo is not blurred.
The checklist
- Laid flat from above, or standing free on white.
- A plain, neutral background.
- Soft light, no flash, white balance fixed.
- The whole piece in frame, smooth and symmetrical.
- Only the product: no people, hands or hangers.
- Front, back and detail together as one product.
- JPEG or PNG, up to 10 MB.
Got your flat-lay? Upload it in the studio. If the look is missing something, Veyra asks about it before anything is made.