Journal · Guide
Product photography for clothing: yourself, a studio or AI
Which product photos a piece of clothing needs, what you need to make them yourself, when a studio is worth it, and where AI fits in.
By VeyraGen editors · 6 November 2026 · 5 min read · Lees in het Nederlands
Look 20 · Nikos · White studio · Generated with VeyraGen · fictional collection, not for sale
Product photography for clothing is more than one good photo. A product page needs a fixed set of images, made the same way for every piece, so your store looks calm and customers can compare pieces. This guide lists which photos those are, and three ways to make them: yourself, with a studio or with AI. Most stores end up with a mix.
Which product photos a piece of clothing needs
- Front. The whole piece, straight from the front: flat, on white or on a mannequin. This is the first photo in your store, and often the one in Google Shopping too.
- Back. Especially for a detail on the back, a slit or a print.
- Detail. The fabric up close, and a button, zip, label or seam. This is where customers see the quality.
- On a model. How the piece falls, how long it is on a body and how to wear it.
- A side view or a second pose, for pieces with shape.
Make every photo in your store the same size, with the same background, the same light and the same crop. Shopify gives 2048 × 2048 pixels for square product photos. A portrait photo, such as 3:4, often shows a whole garment better. Choose one shape and stick to it.
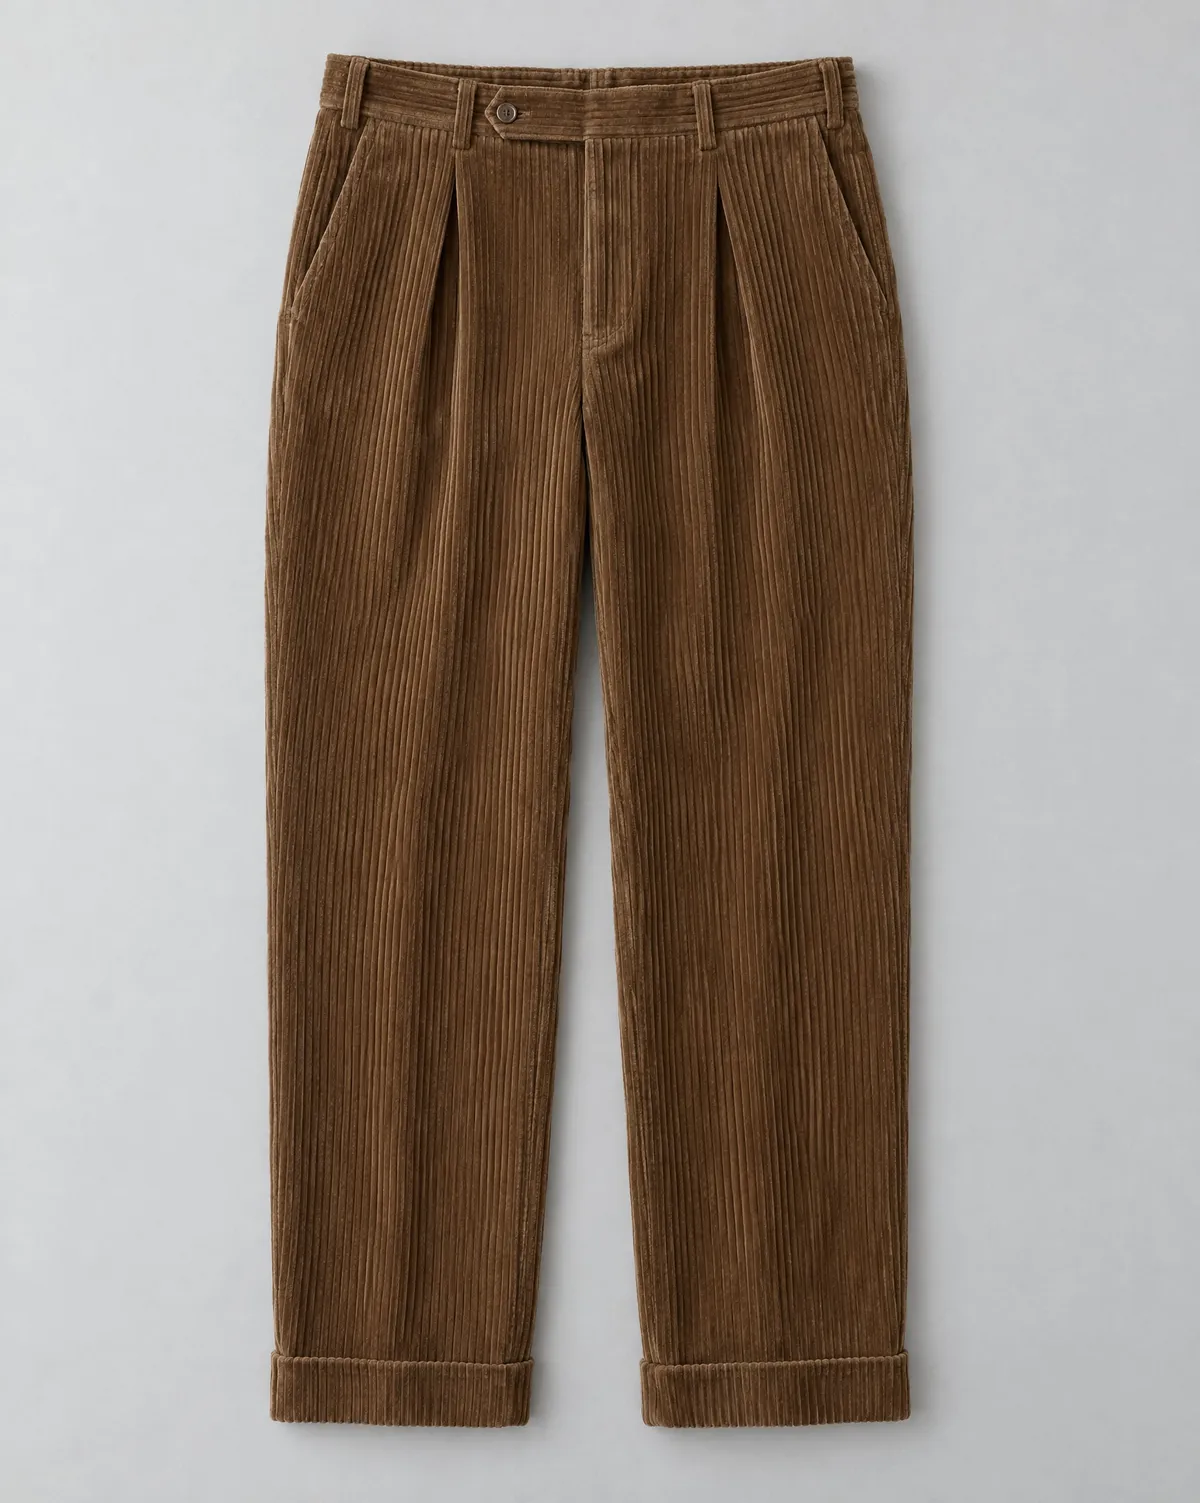
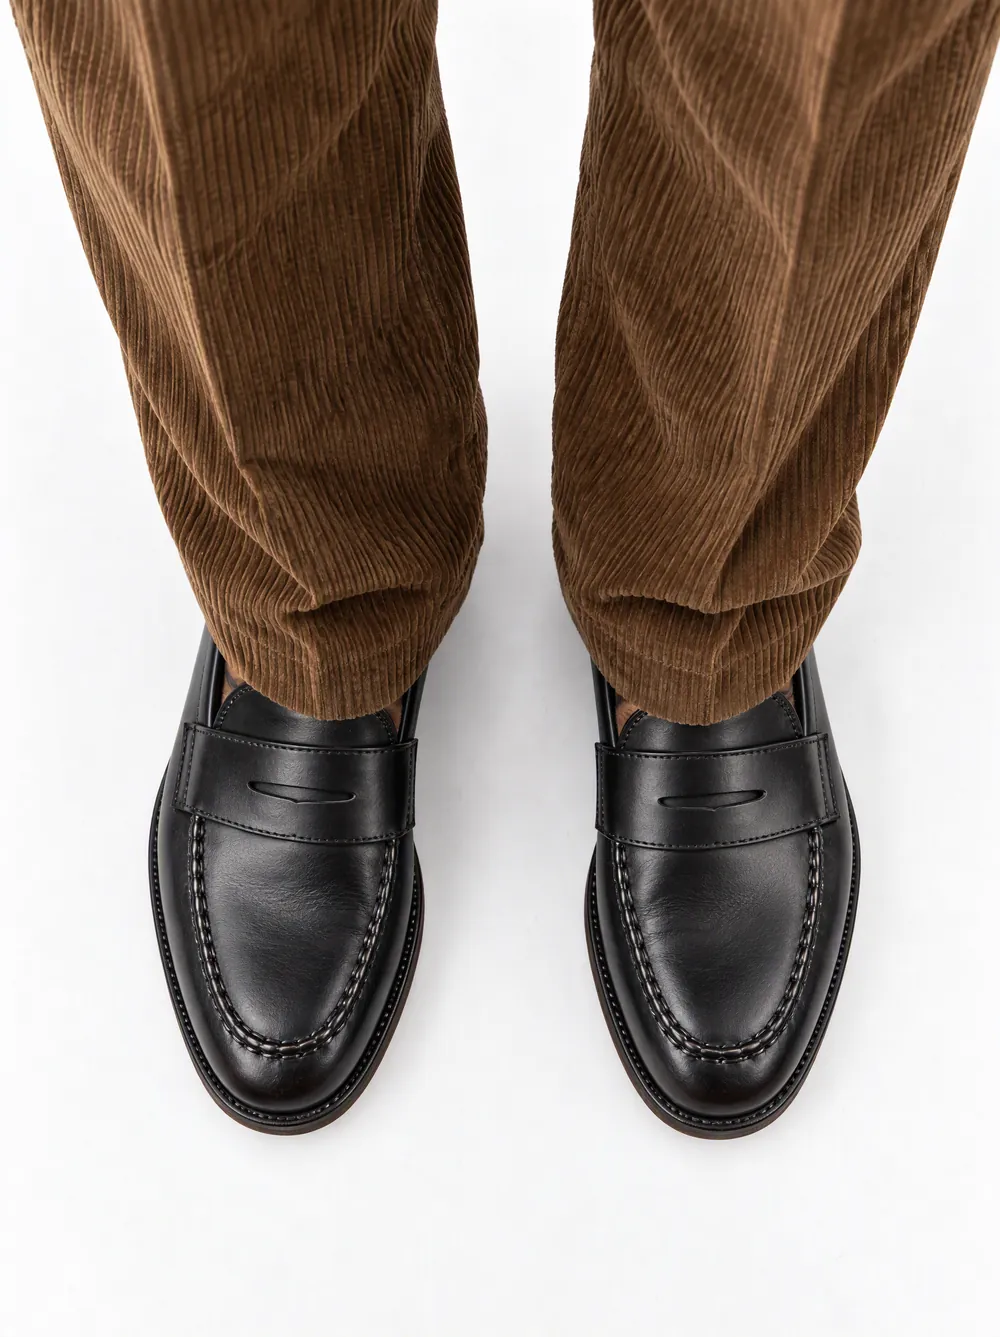
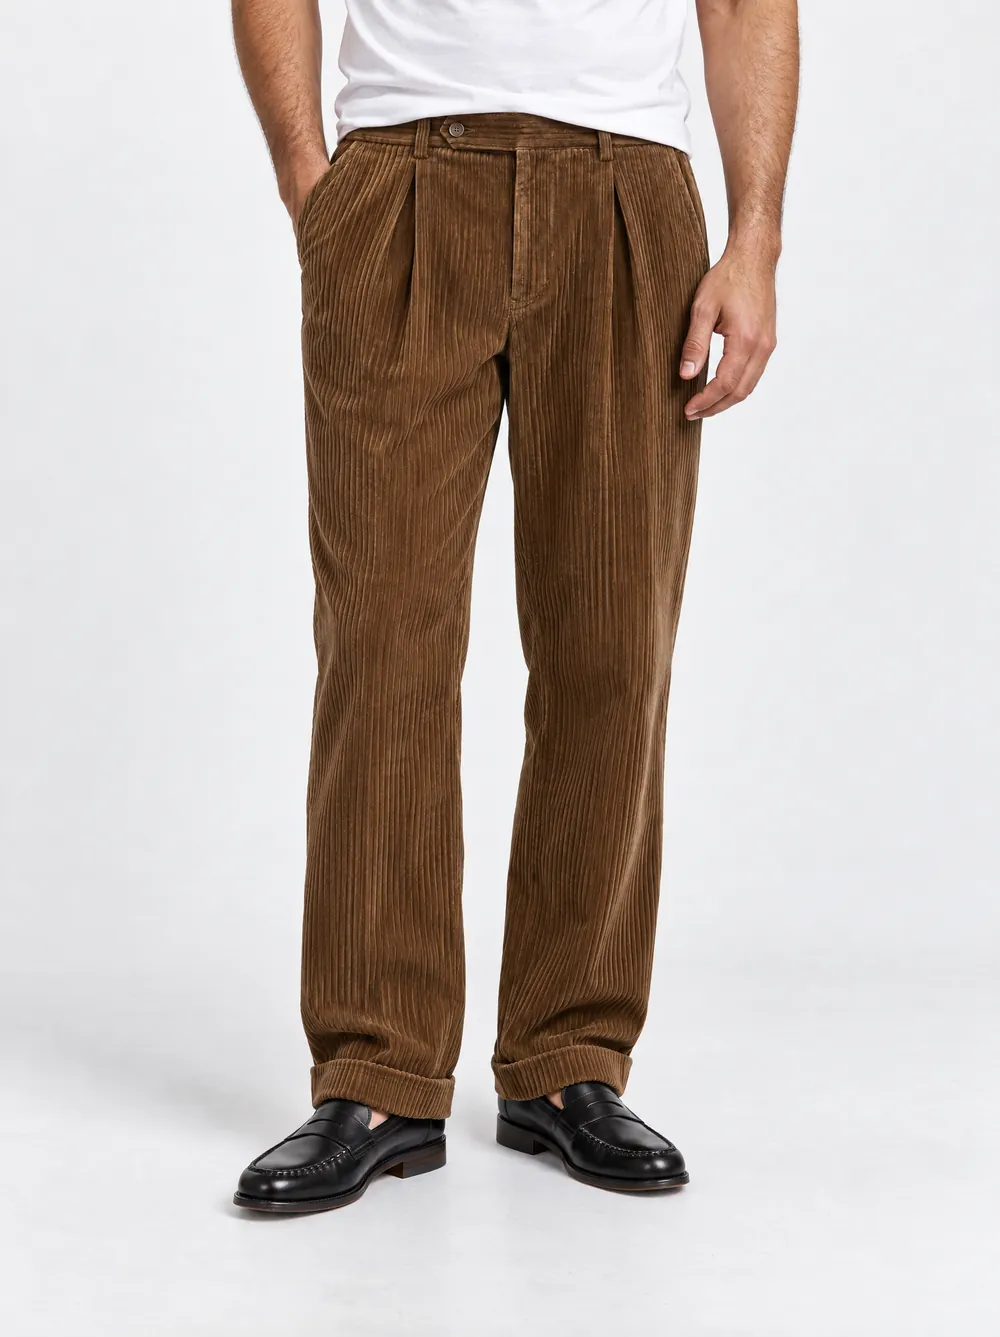
Front laid flat and a detail on model: BT02 Corduroy trousers and SH02 Calf-leather loafer. Flat-lay made with an AI image model, detail generated with VeyraGen · fictional collection, not for sale
Shooting it yourself
For a small collection, or one that changes often, shooting it yourself is the quickest and cheapest way. What you need:
- A camera or a recent phone on a tripod. The tripod makes sure every photo comes from the same spot.
- Soft light. A large window on an overcast day, or two lamps with a softbox. No flash.
- A plain background. A roll of white or light grey photo paper, or a large sheet of card.
- A steamer, pins and clips. A crease shows more in a photo than in real life.
- A mannequin, if you like, for coats and pieces with shape.
Set everything up properly once and leave it. Mark with tape where the tripod stands and where the piece lies or the mannequin stands, and fix the white balance. Then for each piece you only steam it, lay it out or dress the mannequin, and shoot.
Afterwards you cut the photos out or put them on white, bring the colour back to that of the real piece, and crop them all the same way. How to lay clothes flat and photograph them on a mannequin is in How to photograph clothes for your online store. What a flat-lay that AI works well with looks like is in How to photograph a flat-lay that AI understands.
A product photography studio
With a product photography studio, you send your pieces or drop them off, with a list of the photos you want per piece. The studio steams, shoots, cuts out and delivers the files, often in high resolution and as JPGs for your store. Then you get your pieces back.
The advantage: every photo looks the same, across seasons too, and it costs you no time. The drawback: your pieces are away for a while and you pay per photo, roughly €15 to €30 at Dutch studios for a photo laid flat or on a mannequin. What a studio charges exactly and what comes on top is in How much does clothing photography cost?
Give the studio a clear brief: the views per piece, the background, the shape of the photo and an example from your store. Then every new photo matches what you already have.
On-model photos with AI
The most expensive photo in the set is the one on a model. With AI you make it from the product photo you already have: you choose a model, a pose and a place, and the piece goes onto the model. You need no model, studio or location, and the same piece can appear on more models or in more scenes.
An AI image is only as good as the product photo underneath it, though. Whatever is not in your photo, such as the back or a detail, the AI model has to fill in itself. So check every image for colour, fabric and details such as buttons and pockets. How it works step by step is in From flat-lay to on-model photo with AI.
How to combine them
For most online stores a combination works best:
- The product photos yourself or by a studio: front, back and detail of every piece, always the same way.
- The on-model photos with AI, from those product photos, with the same models and scene across your whole collection.
- A shoot with a photographer and a model for a campaign or a lookbook, if you have the budget for it.
A good product photo is the start of every other photo. Do not save on it.
Want to see what your own product photo does on a model? After you confirm your email address you get 25 free credits. If you use Shopify, you bring in your products with the Shopify connection and put the images back on the product.
Source for the size of a product photo: Shopify Help Center, product media, checked on 6 November 2026. The prices and their sources are in How much does clothing photography cost?